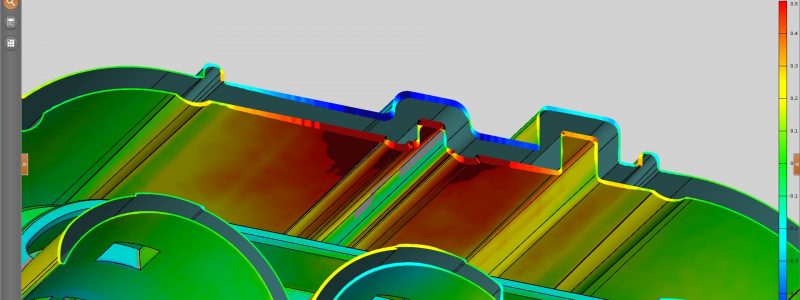
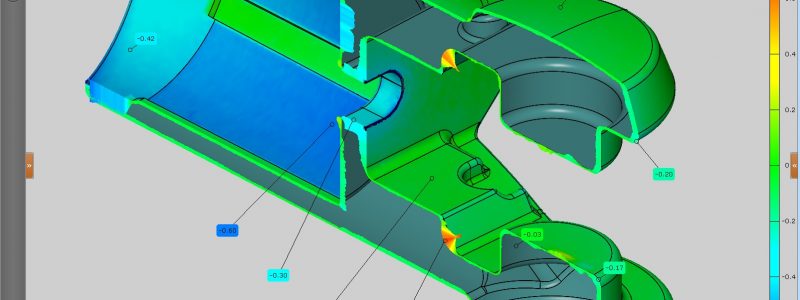
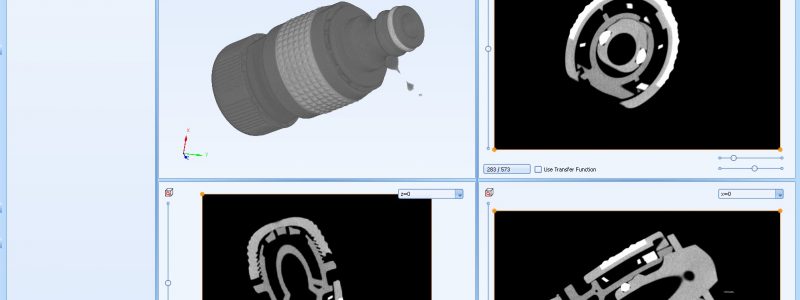
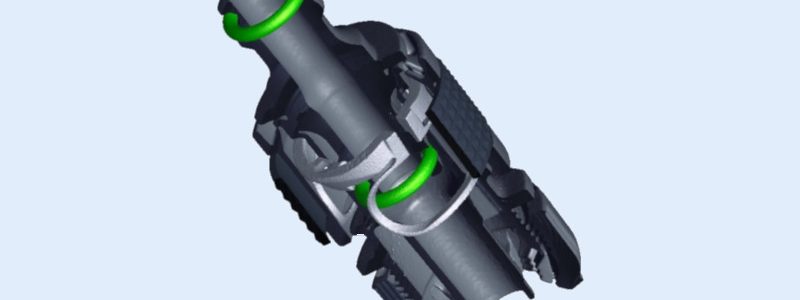
Analysis of internal defects – porosity – shrinkage
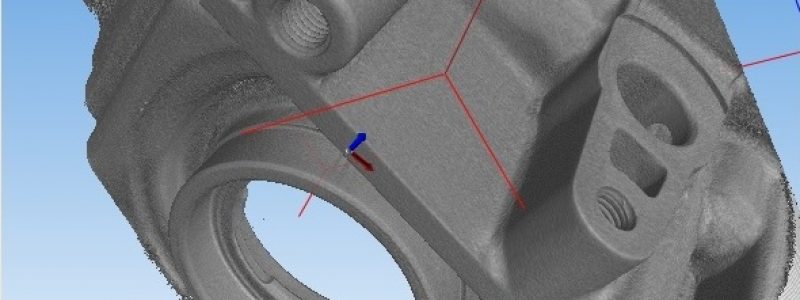
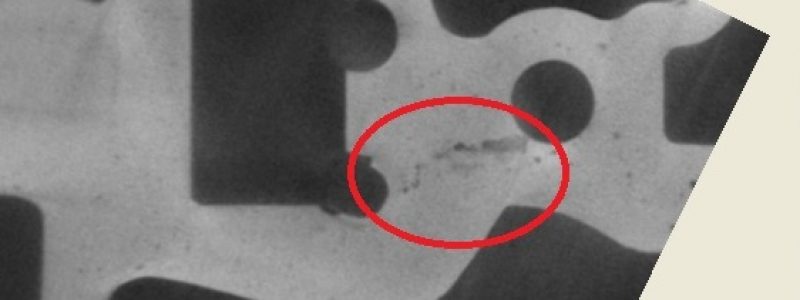
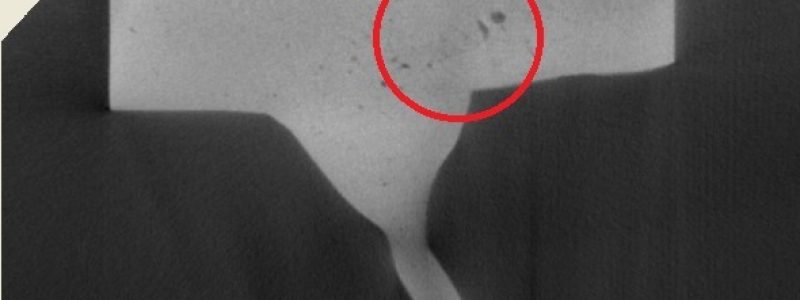
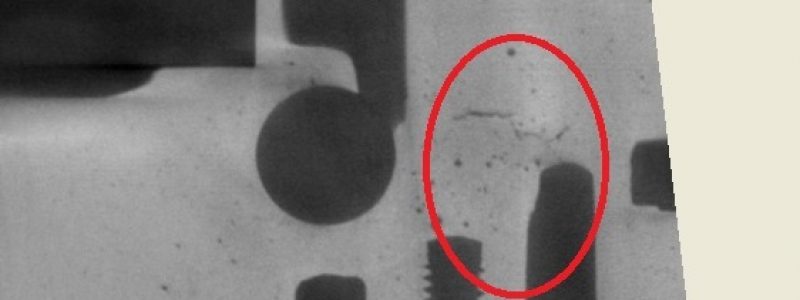
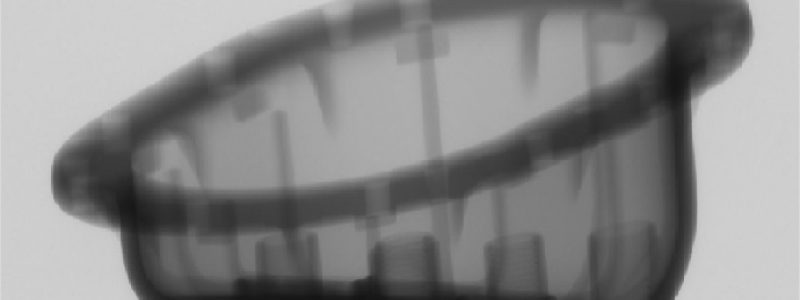
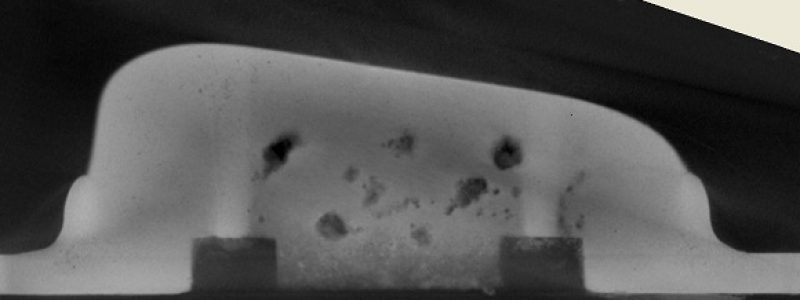
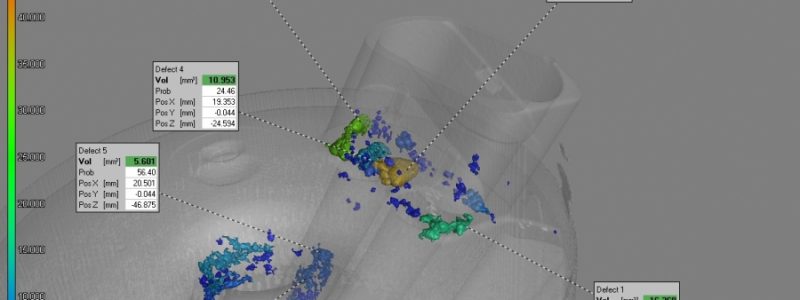
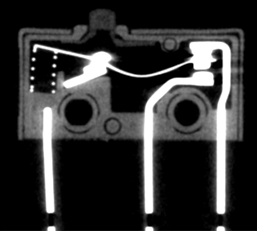
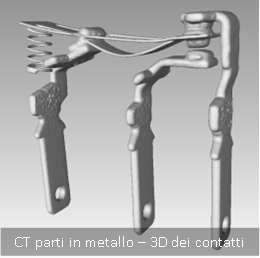
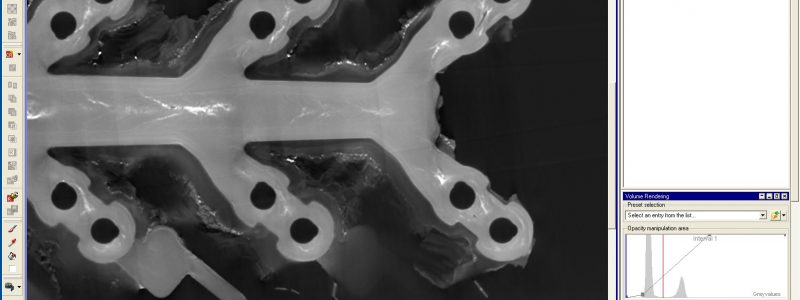
CT analysis of defects allows you to characterise the micro and macro defects within a component using a non-destructive approach. Unlike traditional techniques used in metallography, CT technology makes it possible to “see” defects, locate their position, evaluate their morphology and, at the same time, support the metallurgist in understanding the mechanism that caused the formation of the defect itself.
Being able to view a defect in three dimensions therefore enables us to understand whether it is:
- shrinkage porosity;
- gas inclusions
- cracking arising from internal stresses caused by cooling
- inclusion of extraneous materials within the analysed matrix.
- Other types of defects
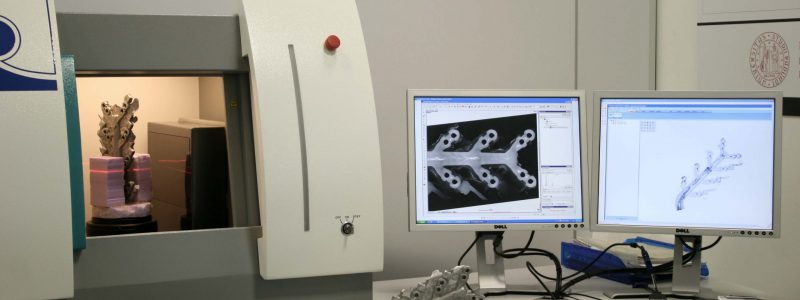
When conducted in parallel with destructive techniques, CT is a powerful diagnostic tool capable of precisely locating the defect and enabling the technician to dissect the sample in the exact position – and correct orientation – and then carry out a detailed metallographic analysis. The products that are usually studied for this type of analysis are light alloy components (diecast or gravity castings), plastic components (injected into a closed mould).


